Divinum Slumbering Depths Walkthrough
Underground areas, first major elites, and the route through the Depths.
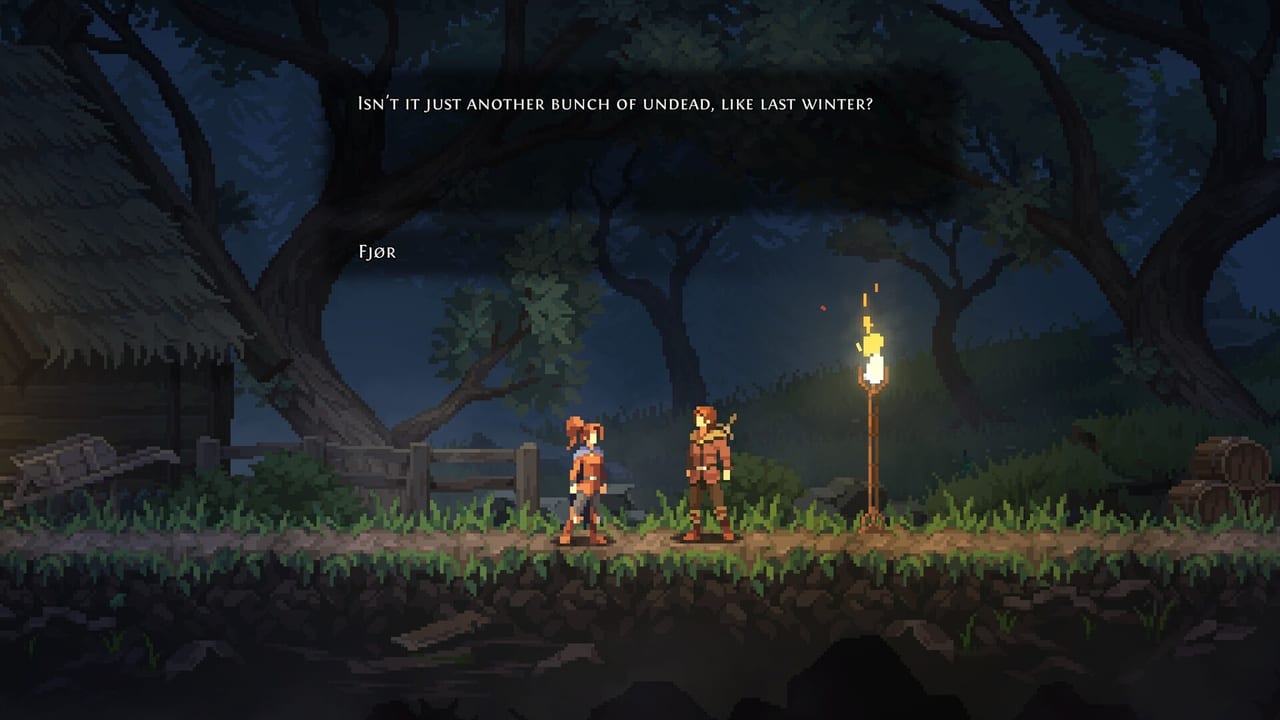
The Slumbering Depths is the first major underground area in Divinum, reached after the prologue. This is where the game stops being a tutorial and starts being a real challenge. Lantern-lit corridors, stone catacombs, crystal caverns, and the first named elite: the Elite Sentinel of Soulfire.
This walkthrough covers the full Depths route based on the Into Indie Games guide and demo play-through footage. The demo covers a substantial portion of this area; the full game adds more biomes and additional story content before and after the Depths.
Entering the Depths
After the prologue, Fjør descends through a transition area into the Slumbering Depths. The environment shifts immediately: the open sky disappears, replaced by stone ceilings lit by lanterns and the faint glow of cyan soulfire.
The Depths are vertically complex. You are not just moving left and right — you are moving up, down, and through layered corridors. This is where the map system (Tab on keyboard, Select on controller) becomes genuinely useful rather than optional.
The first few rooms are still teaching. Expect a controlled encounter or two before the game asks you to fight in earnest.
Key areas in the Depths
Lantern Catacombs
The entry-layer of the Depths. Stone corridors lit by hanging lanterns, narrow sight-lines, and a mix of melee and ranged enemies. The catacombs reward patience. Sprinting through this area gets you killed. Learn the enemy placement, watch for projectile volleys, and use the corridors to your advantage rather than fighting in open chaos.
Crystal Caverns
Beyond the catacombs, the environment shifts to purple-tinted crystal formations. These rooms are more vertical: more platforms, more ledges, and more hiding spots for shards and Sanctite.
The crystal rooms are where the alternate uppercut (grounded, quick-tap up plus attack) becomes essential. Low ceilings punish full launches. Use the grounded variant to stay effective in tight vertical spaces.
Look up and look down aggressively in these rooms. Back ledges that are invisible from the main path often hold life shards or mana shards.
Sacred Ruins
Scattered through the Depths are ruined chambers with an ancestral flavour — older architecture, glowing runes on walls, and sometimes a shop or a trial gate. These rooms often serve as safe harbours between difficult combat sections.
The sacred ruins are where you are most likely to encounter cleansing ritual gates. If a room has a distinct visual treatment and a locked door, treat it as a trial. Low-tier trials in the Depths are classrooms. High-tier trials are exams you should postpone until you have more shards.
Enemy types in the Depths
The Depths introduce more varied enemy types than the prologue:
- Melee fighters — close-range enemies with telegraphed swings; dodge or block the startup
- Caster enemies — ranged attackers who fire projectiles; swat the shots back or close during recovery
- Armoured elites — enemies with larger health bars who require full juggle combos to stagger
- Soulfire variants — enemies tinted cyan who are connected to the soulfire mechanic; often appear near the Elite Sentinel
The Elite Sentinel of Soulfire is the most significant named threat in this area. Treat it as a three-phase lesson:
- Learn the telegraph — the cyan beam and the crescent guard are readable; wait for the startup
- Create a launch window — perfect blocks shove toward stun; skills and weapon swap finish the job
- Spend the air — once the Sentinel is airborne, dump aerial kit, then dash out before landing frames
Challenge rooms and cleansing rituals
The Slumbering Depths contain several optional challenge rooms marked as cleansing rituals. These range from single-enemy tests to multi-wave gauntlets.
Approach a trial by checking:
- Your shard count — extra life or mana from shards is more honest power than a new Rune theory
- The room geometry — low ceilings mean grounded combos; open arenas mean launches
- The enemy type — projectile rooms want deflection answers; crowd rooms want splash
- Your current kit — if the Rune you are wearing does nothing in this room, change it
If a trial is clearly above your current power level, leave and come back. That is not surrender — that is the intended loop. Divinum wants you to explore, upgrade, and return.
The Elite Sentinel of Soulfire
The Elite Sentinel of Soulfire is the signature encounter of the Slumbering Depths. It appears in a lantern-lit catacomb chamber with cyan soulfire ambient effects.
The fight has two main attacks:
- Cyan beam — a horizontal beam sweep; do not sprint through it, perfect block or dash the startup
- Wide crescent guard — a sweeping melee arc; dodge through or wait for the recovery
The Sentinel is not the hardest fight in the game, but it is a proper skill check. If you can beat the Sentinel, you understand the core loop.
Build for this fight by bringing:
- Projectile deflection or swat answers (projectile Runes, second weapon with anti-projectile stance)
- Mana for perfect blocks — empty mana after a block stuns Fjør
- Fury for the execute window (when the Sentinel is staggered, dump Fury rather than waiting)
Pickups and routing
The Slumbering Depths are more rewarding than the prologue for shard and Sanctite hunting:
- Life shards — hidden on back ledges and in hard-to-reach corners; look up aggressively
- Mana shards — often near crystal formations or in rooms adjacent to main corridors
- Sanctite — dense in this area; the magnet pickup from demo 0.39.1 makes collection easier
- Runes — reward for clearing trials or finding hidden alcoves; some are in plain sight once you know the room geometry
The rune menu tracks your shard counts. Before a difficult trial, check whether your life or mana bars are long enough for the fight.
What comes after the Depths
The Slumbering Depths are a mid-game area of the full campaign. After the Depths, Fjør surfaces again and moves through additional biomes before the final area.
The demo covers a significant portion of the Depths but does not include the full post-Depths content. The full game adds more surface-level exploration, additional named bosses, and the story beats that lead toward the game’s two endings.
Route summary for the Depths
- Descend from the prologue surface area into the entry catacombs
- Navigate the lantern corridors, watching for projectile volleys
- Explore crystal caverns vertically — look up, look down, grab back-ledge shards
- Find the sacred ruins and assess trial gates
- Encounter and defeat the Elite Sentinel of Soulfire
- Continue through additional Depths content (full game)
- Surface for the next biome
Related pages
- Prologue walkthrough — the area before the Depths
- Bosses and trials — Elite Sentinel breakdown and ritual strategy
- Combat combos — launch windows and the juggle system
- Map and exploration — shard routing and the look-up, look-down habit
- Rune builds — kit recommendations for catacomb and beam-elite rooms
Frequently Asked Questions
Quick answers to the most common questions.
What is the Elite Sentinel of Soulfire in Divinum?
The signature named elite of the Slumbering Depths. A catacomb boss with a cyan beam and a wide crescent guard. Perfect block the startup, punish during recovery, and juggle when airborne. The Sentinel is a skill check for the core combat loop.
How do I find life shards in the Slumbering Depths?
Look up aggressively in crystal caverns and check back ledges in catacomb corridors. The rune menu tracks your shard counts. Low life shard totals mean optional trials will two-shot you — explore before you push.
Should I attempt cleansing rituals in the Depths on my first visit?
Only low-tier trials. High-tier rituals in the Depths are meant to be postponed. Come back after more exploration, more shards, and a better Rune loadout. The game rewards returning with preparation rather than persistence.